VSCode C++ 环境搭建

安装vscode以及相应的扩展

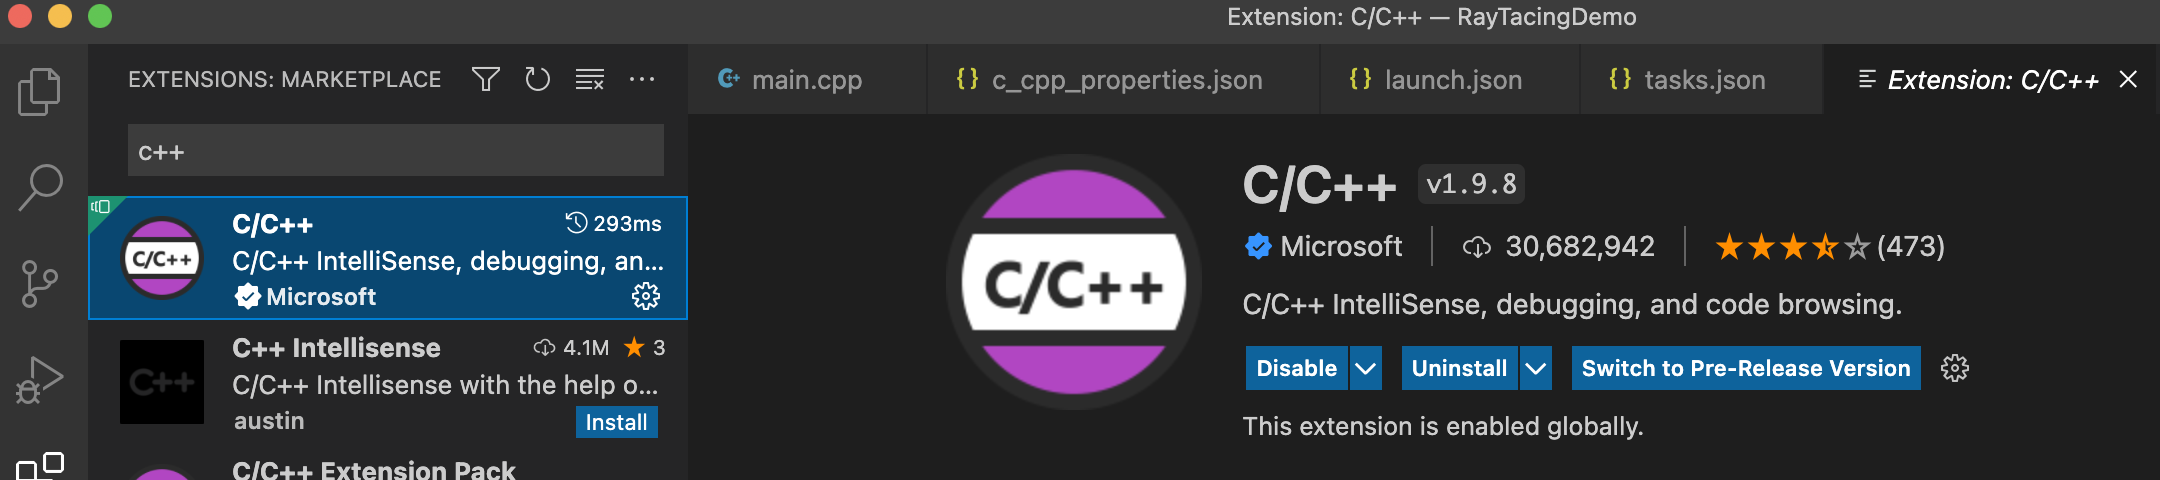
首先在 Visual Studio Code on macOS这里下载vscode,然后安装,随后在vscode里面安装c++的插件,如下所示:

image-20220429151003671

安装clang

在终端中确保clang已经安装好,可以用如下的命令查询

1
clang --version
1
2
3
4
5
changyuandeMacBook-Pro:RayTacingDemo changyuanchen$ clang --version
Apple clang version 12.0.5 (clang-1205.0.22.11)
Target: x86_64-apple-darwin20.6.0
Thread model: posix
InstalledDir: /Library/Developer/CommandLineTools/usr/bin

如果没有安装,可以用如下的命令安装

1
xcode-select --install

创建基础工程

1
2
3
4
5
mkdir projects
cd projects
mkdir helloworld
cd helloworld
code .

在运行code命令的时候,有可能会找不到命令,如下所示

1
2
changyuandeMacBook-Pro:helloWorld changyuanchen$ code .
-bash: code: command not found

这是因为我们想通过命令直接打开vscode项目,用的命令是 code ./,不过你得先安装code,要执行下面的操作:
安装code:打开VSCode –> command+shift+p –> 输入shell command –> 点击提示Shell Command: Install ‘code’ command in PATH运行,成功后会有如下的截图提示

image-20220429152959646

这样我们就能够运行code命令了。

运行命令后会拉起一个vscode工程,这个目录就是vscode的workspace。

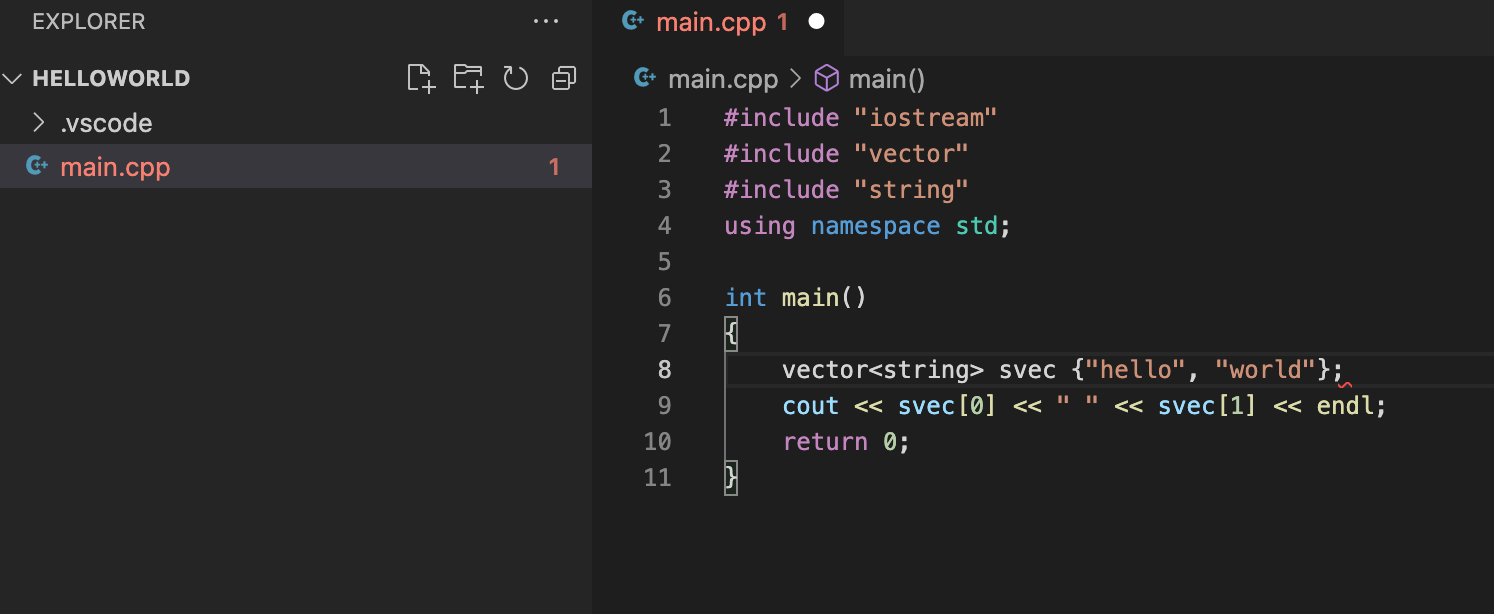
在文件夹helloworld下创建c++文件

image-20220429154635511

开始配置编译

在vscode中要开始编译需要在.vscode目录下创建task.json文件,具体如下所示:

Terminal > Configure Default Build Task(快捷键为shift+command+P 然后搜configure default build task)

然后选择C/C++ clang++ build active file来编译当前的文件

Build task

随后他会自动生成task.json文件。

1
2
3
4
5
6
7
8
9
10
11
12
13
14
15
16
17
18
19
20
21
22
23
24
25
26
27
28
{
"version": "2.0.0",
"tasks": [
{
"type": "cppbuild",
"label": "C/C++: clang++ 生成活动文件",
"command": "/usr/bin/clang++", // 执行的编译器
"args": [
"-fdiagnostics-color=always",
"-g",
"${file}",
"-o",
"${fileDirname}/${fileBasenameNoExtension}"
],
"options": {
"cwd": "${fileDirname}"
},
"problemMatcher": [
"$gcc"
],
"group": {
"kind": "build",
"isDefault": true
},
"detail": "编译器: /usr/bin/clang++"
}
]
}

这里解释下重要参数的意义:

1
2
3
"command": "/usr/bin/clang++",  // 执行的编译器
"args": // 传递给编译器执行的命令参数
"cwd": // current working directory, 这个需要设置为当前cpp文件所在的文件夹位置

这里面是一些默认的配置,我们需要用下面的内容将其替换

1
2
3
4
5
6
7
8
9
10
11
12
13
14
15
16
17
18
19
20
21
22
23
24
25
26
27
28
{
// See https://go.microsoft.com/fwlink/?LinkId=733558
// for the documentation about the tasks.json format
"version": "2.0.0",
"tasks": [
{
"type": "shell",
"label": "clang++ build active file",
"command": "/usr/bin/clang++",
"args": [
"-std=c++17",
"-stdlib=libc++",
"-g",
"${file}",
"-o",
"${fileDirname}/${fileBasenameNoExtension}"
],
"options": {
"cwd": "${workspaceFolder}"
},
"problemMatcher": ["$gcc"],
"group": {
"kind": "build",
"isDefault": true
}
}
]
}

替换了以后,就开始执行编译,可以直接用快捷键shift+command+B执行,或者Terminal > Run Build Task执行

如果成功的话,会在terminal中显示如下:

1
2
3
> Executing task: /usr/bin/clang++ -std=c++17 -stdlib=libc++ -g /Users/changyuanchen/Code/cppTestCode/vscodeEngineTest/helloWorld/main.cpp -o /Users/changyuanchen/Code/cppTestCode/vscodeEngineTest/helloWorld/main <

Terminal will be reused by tasks, press any key to close it.

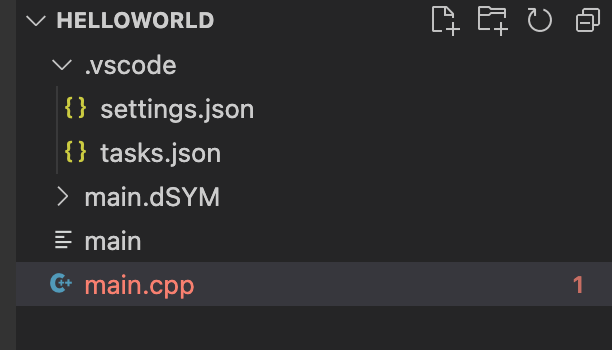
然后我们在目录下可以看到生成了一个可执行文件main

image-20220429161814132

我们也可以点击+号,创建一个新的terminal,然后执行可执行文件

image-20220429161742772

1
2
changyuandeMacBook-Pro:helloWorld changyuanchen$ ./main
hello world

接下来继续修正task.json文件

  • ${file}.修改为"${workspaceFolder}/*.cpp" 这样工程就可以编译所有的cpp文件了,而不是只能编译这一个文件
  • 把输出文件的名字可以通过修改 "${fileDirname}/${fileBasenameNoExtension}" 来硬编码成指定的名字 ("${workspaceFolder}/myProgram.out").

对工程进行debug

对工程进行debug需要配置launch.json文件,这样才能利用LLDB debugger来debug工程

Run > Add Configuration

然后选择:

image-20220429170325084

这样会生成一个launch.json文件,然后我们需要对其做如下的配置

1
2
3
4
5
6
7
8
9
10
11
12
13
14
15
16
17
18
19
20
21
{
// Use IntelliSense to learn about possible attributes.
// Hover to view descriptions of existing attributes.
// For more information, visit: https://go.microsoft.com/fwlink/?linkid=830387
"version": "0.2.0",
"configurations": [
{
"name": "clang++ - Build and debug active file",
"type": "cppdbg",
"request": "launch",
"program": "${fileDirname}/${fileBasenameNoExtension}",
"args": [],
"stopAtEntry": true,
"cwd": "${workspaceFolder}",
"environment": [],
"externalConsole": false,
"MIMode": "lldb",
"preLaunchTask": "clang++ build active file"
}
]
}

下面我们来看下具体的参数解析:

  • program是想要debug的程序,这个是我们在task.json中的-o的输出保持一致
  • preLaunchTask 要跟 tasks.json 中的 label 的内容保持一致
  • stopAtEntry 设置为 true 则意味着在debug的时候会在main函数处设置断点停止,设置为false则不会如此。

c++扩展设置

为了对c++进行更多的扩展,我们需要设置 c_cpp_properties.json文件。

执行shitft+command+P,然后选择C/C++: Edit Configurations (UI)

会生成 c_cpp_properties.json文件,以及开启UI的设置层,可以在这里进行设置。

这里面比较重要的设置如下:

image-20220429172304742

image-20220429172325176

生成的文件如下所示:

1
2
3
4
5
6
7
8
9
10
11
12
13
14
15
16
17
18
19
{
"configurations": [
{
"name": "Mac",
"includePath": [
"${workspaceFolder}/**"
],
"defines": [],
"macFrameworkPath": [
"/Library/Developer/CommandLineTools/SDKs/MacOSX12.1.sdk/System/Library/Frameworks"
],
"compilerPath": "/usr/bin/clang",
"cStandard": "c17",
"cppStandard": "c++11",
"intelliSenseMode": "macos-clang-x64"
}
],
"version": 4
}

参考资料

来自官网的指南yyds

https://code.visualstudio.com/docs/cpp/config-clang-mac

显示 Gitment 评论